Military Madness: Neo Nectaris (iPhone) Walkthrough/ Guide/ FAQ
A big "Thank you!" to Matthew Emirzian for creating this FAQ (Revision 3, 6/29/2010). Visit his site Tactical Insights or contact him: mjfaqs@live.com &
mjemirzian@tbstactics.com
USING THIS GUIDE: Each stage is rated in difficulty from 1 to 4 stars. 1 star being short and easy with relatively little strategy, and 4 stars being relatively difficult with some specific, complex, or adaptive strategies needed. The more stars a stage has, the more explanation is required due to the complexity of the solution.

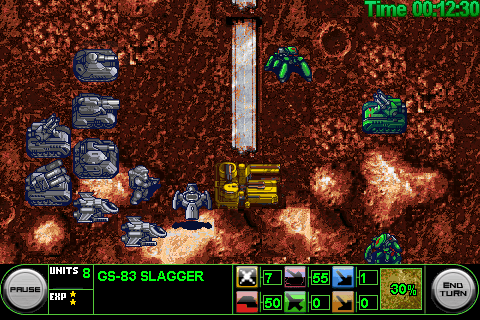
Neutral Factories (yellow in color) are named from A to E in either a north to south direction or a west to east direction across the map. Take a look at the map before beginning and familiarize yourself with the location of each factory so you know what the guide is talking about when it refers to Factory A, Factory B, etc.
Turns Taken is the number of turns it took me to complete each stage without save/load abusing. Feel free to try to beat these numbers.
Δ
Mission Strategy & Standard Tactics:
- Rush and claim as many neutral factories as possible, while using Zone of Control (ZOC) to deny the enemy neutral factory access. Even if an enemy captures a factory, you can still re-capture it on the next turn and gain whatever is left in it, including the enemy infantry inside. Blocking the hexes around factories will prevent the enemy from deploying their units while you work to capture it for yourself. Whether you win or lose the stage is usually determined by the first few turns of factory conquest. There are very few stages where it is more efficient to capture the enemy's Base instead of claiming factories. In some cases, it's a good idea to block the enemy from gaining the factory while not bothering to capture it for yourself, and instead focusing on elimination using a concentrated force.
Δ
- Retreat your injured units into factories or repair with Teknik units, while using ZOC to deny enemy retreat. Of course the best way to prevent enemy retreat is to kill the unit.
Δ
- Surround enemies for the battle support bonus, which allows you to take down powerful enemies while suffering minimal losses. Remember that you need the enemy unit pinned down in two parallel hexes to cut its defense and attack in half. For example, an enemy surrounded on its N and S hexes, NW and SE hexes, or its SW and NE hexes. Any unit can provide support, even airtriggers and loaded transports that don't have an attack, so use them for supporting whenever needed. An effective strategy is to move a unit next to an enemy without attacking it (press the Abort button), then attack it from the opposite side for the support bonus. Air units are especially useful for getting around behind an enemy for support attacks due to their high movement range.
Δ
- All other standard tactical level strategies apply: Use terrain to your advantage, attack targets with units they are weak against, distract the CPU with bait units so your attack units stay healthy, keep vulnerable and necessary units out of enemy attack range, hold enemies off in chokepoints, attack from back to front to clear the way for your frontline units to move deeper into enemy territory and hit vulnerable enemy units, etc. Bait units include infantry and transports like mules and charlies that no longer have any purpose, but also anti-air units that no longer have any air units left to kill, like falcons, hawkeyes, and seekers. These are strategies that are useful in almost any tactical level game and you should get familiar with using them if you want to have any success in this genre.
Δ
- You do not ever have to save/reload abuse to complete the game. Don't make yourself miserable save/reload abusing to get combat results or CPU behavior, instead improve your strategy. I did not save/reload abuse at all to finish this guide and this walkthrough doesn't rely on it or ask you to do it. There are random elements to the CPU's behavior, but I have tried to point out how to react to the most common random parts of a stage.
Δ
Stage 01: SHEKEL
Difficulty: 


 (2/4 stars)
Turns Taken: 8
Δ Return to top
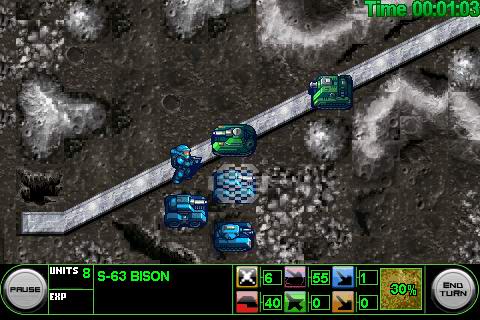
Position your infantry in front to absorb hits, then surround each enemy for the support bonus. Get in position to attack the Lenet on enemy Base before moving in to attack using support attacks.
Δ
Δ Return to top
Stage 02: RUPIAH
Difficulty: 


 (1/4 stars)
Turns Taken: 6
Δ Return to top
Keep your Kilroy on your Base. Surround the bridge hex with 3 of your units and grind down the tanks as they approach.
Δ

Δ Return to top
Stage 03: DOLLAR
Difficulty: 


 (1.5/4 stars)
Turns Taken: 10
Δ Return to top
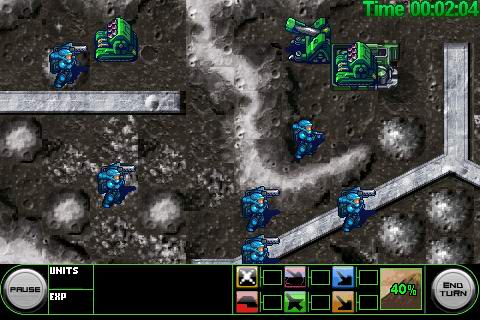
Move your infantry forward relentlessly, regardless of casualties. Try to move onto defensive terrain whenever possible.
Δ
Δ Return to top
Stage 04: PESETA
Difficulty: 


 (2/4 stars)
Turns Taken: 11
Neutral Factories: A, B (west to east)
Δ Return to top
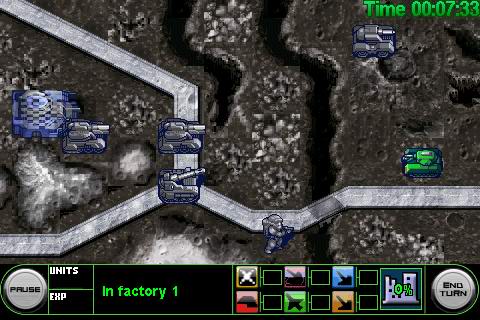
Deploy your Polar and Grizzly first. Head south along the road to capture Factory A. Hold the enemy back near Factory B, and close off the north road leading to your Base. Retreat your injured units into the factory to repair and keep grinding down the tanks using support attacks. Be prepared for enemy tanks coming from the south road as well.
Δ

Δ Return to top
Stage 05: FORINT
Difficulty: 


 (1.5/4 stars)
Turns Taken: 6
Neutral Factories: A, B (north to south)
Δ Return to top
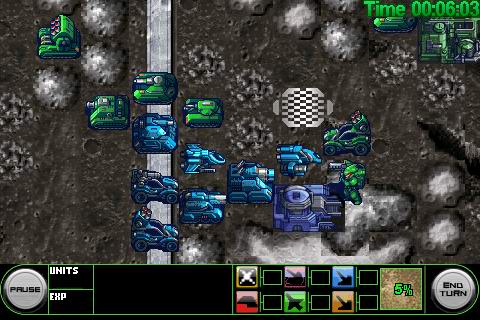
Deploy your Polar, Grizzly, Falcon, Hawkeye, and Rabbit. Capture Factory B and engage the enemy using standard tactics (see Mission Strategy). Lure the hunter in with your Charlie on defensive terrain surrounded by support then kill it on the next turn with your Hawkeye, Falcon, and Lynx. If an enemy infantry gets near your factory, make sure to shoot it down with your Hadrian, Eagle, Rabbit, etc. Once again retreat your units into factories if they're injured.
Δ
Δ Return to top
Stage 06: ESCUDO
Difficulty: 


 (3/4 stars)
Turns Taken: 9
Neutral Factories: A, B, C (west to east)
Δ Return to top
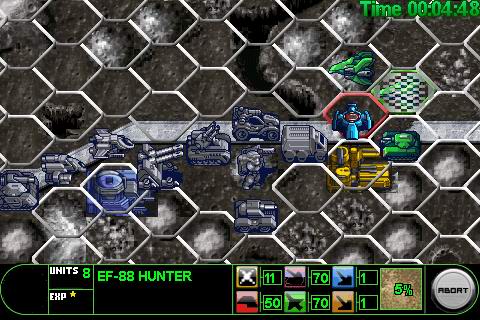
Proceed east with all of your units. Move your Charlie to Factory A and your Mule with Kilroy inside to Factory B. Capture Factory A and get your Kilroy right next to Factory B on Turn 3. Make sure your Kilroy can't be attacked by more than one Hunter by surrounding it with your ground units. On the next turn, focus on killing the two Hunters using every anti-air unit you have, and make sure they don't retreat to a factory. It's ok if you lose your Kilroy as long as you keep the enemy off Factory B and your Charlie is still alive. Watch out for the enemy Hawkeye and Atlas artillery while you move east.
Δ
Δ Return to top
Stage 07: AGOROT
Difficulty: 


 (3/4 stars)
Turns Taken: 7
Neutral Factories: A, B, C (west to east)
Δ Return to top
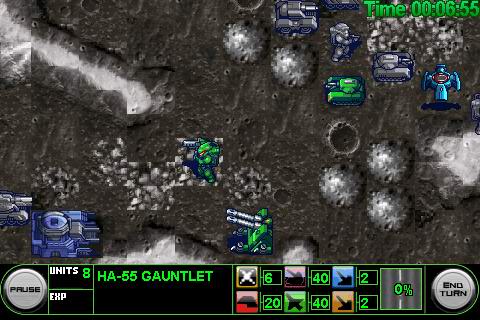
Move your Charlie near Factory A southwest, out of enemy attack range but still able to capture the factory on the next turn. Move your other infantry south towards Factory C and protect them with your airtrigger and ground units. Deploy your tanks and Airtrigger from Factory A (along the west hexes) then send them south to attack the southmost Aegis and blockade the Charlie from getting to Factory B. Deploy your Charlie from Factory A then allow the enemy Kilroy to capture it, then recapture it for yourself to recruit the Kilroy. Keep moving south with your group of gauntlets and other ground units, making sure your gauntlets stay near an infantry to keep firing. Use your Airtriggers as bait to keep your other units healthy or capture/blockade factory spots. If you lose Factory B it's ok, you just have more enemies to kill and the map will take longer.
Δ
Δ Return to top
Stage 08: DINARS
Difficulty: 


 (1.5/4 stars)
Turns Taken: 7
Neutral Factories: A, B (west to east)
Δ Return to top
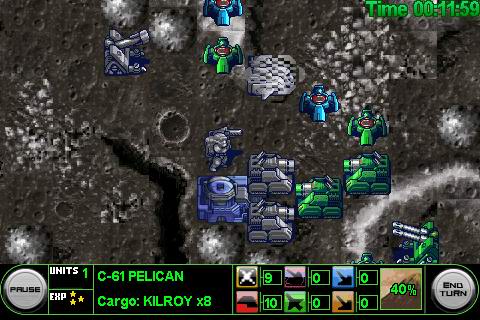
Use your Pelicans and Kilroys as bait for the enemy air units while your Falcons attack and take them out. Capture Factory A and deploy your Giants and start attacking the other Giants or incoming Kilroys. Once the enemy air units are down (besides the Pelicans), send your Pelican east for a Base capture.
Δ
Δ Return to top
Stage 09: SATANG
Difficulty: 


 (2/4 stars)
Turns Taken: 11
Neutral Factories: A, B, C, D (north to south)
Δ Return to top
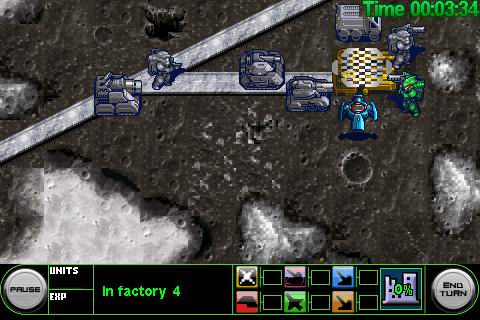
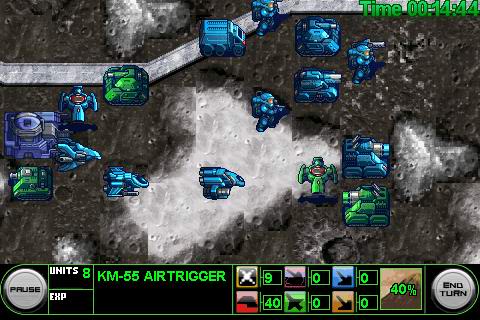
Move your pre-deployed Charlie south to Factory B. Deploy your Grizzly, Polar, and Charlie on the east facing hexes. Move your Airtrigger, loaded Mule, and deployed ground units east to blockade and capture Factory A. The CPU will capture Factory A before your infantry can reach it, so surround it with as many units as possible so the CPU can only deploy two units before you can capture it. After cleaning up that mess, move from Factories A and B to C - surround the enemy Giants with your ample number of air units and destroy them. Move your Eagle south to destroy the Mule headed for Factory D if needed. Usually the CPU will be threatened and park its Mule on its Base instead of moving out with it.
Δ
Δ Return to top
Stage 10: HALERS
Difficulty: 


 (2.5/4 stars)
Turns Taken: 8
Neutral Factories: A, B, C (west to east)
Δ Return to top
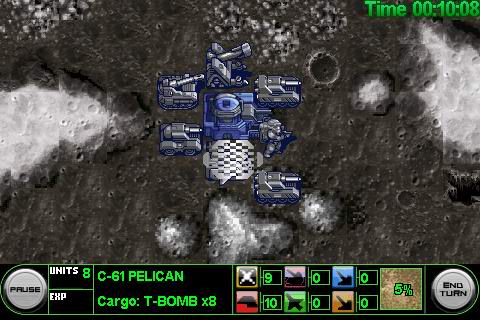
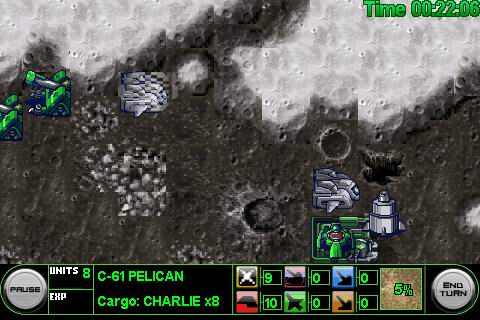
Use your Atlas and Lenet to attack the Trigger. Move your Teknik to Factory C. Load your Charlie into the Pelican and move to Factory B. From Factory C deploy the Pelican and load a Time Bomb into it, then head towards enemy Base. Load your Factory B Charlie back into the other Pelican and head towards enemy Base. Defend Factory C from incoming enemies using your Atlas, Teknik, and Gauntlets. Empty out Factory B without regard to survival, because the CPU will show up and claim it eventually. Just make sure to kill the enemy Lenet hanging around so you can capture the Base safely. Drop off the Time Bomb next to the trigger, wait for it to explode, then move in with your Charlie to capture.
Δ
Δ Return to top
Stage 11: PAISAS
Difficulty: 


 (2.5/4 stars)
Turns Taken: 8
Neutral Factories: A, B, C (west to east)
Δ Return to top
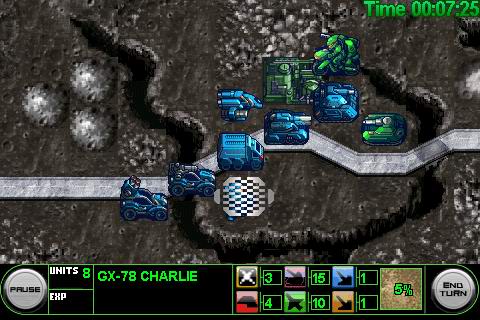
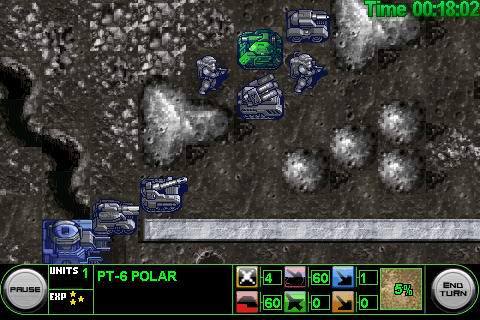
Move your loaded Mule, Panther, Rabbit, and Lynx towards Factory B. Retreat your Charlie near Factory C westward. Deploy your initial factory units and move them towards Factory B. Capture Factory B with your Panther and deploy the Eagle, Grizzly, and Polar and drop your Charlie off near Factory B. Do not bother trying to capture Factory A or C. The enemy Charlie will capture Factory B on the next turn, so re-capture it with your Charlie then kill the deployed enemy Panther. Move your Eagle north to kill the Charlie headed west for Factory A. Once you've killed all enemy infantry, focus on eliminating the remaining enemy forces using standard tactics.
Δ
Δ Return to top
Stage 12: GROSZY
Difficulty: 


 (2/4 stars)
Turns Taken: 8
Neutral Factories: A (only one factory)
Δ Return to top
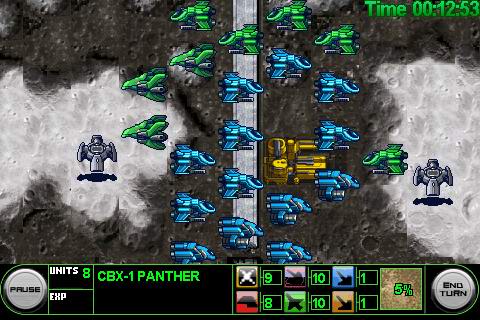
The enemy Hunters don't move unless there's something in their range, so you can avoid fighting them all at once. Send your Falcons and Eagles to Factory A and start killing the enemy Eagles. Remember to finish off injured enemies or they will fly back to a factory for repairs. Use your infantry and airtriggers as bait to absorb hits and fly your injured air units back to factories to be repaired. Prevent the enemy from capturing Factory A and grab it for yourself. By about turn 3 just about every enemy air unit should be dead. Once you have the middle factory just push north and capture the enemy Base.
Δ
Δ Return to top
Stage 13: MARDUK
Difficulty: 


 (3/4 stars)
Turns Taken: 9
Neutral Factories: A (only one factory)
Δ Return to top
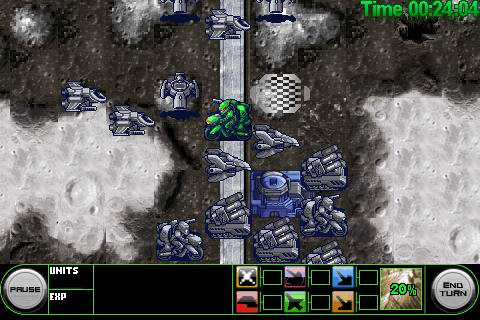
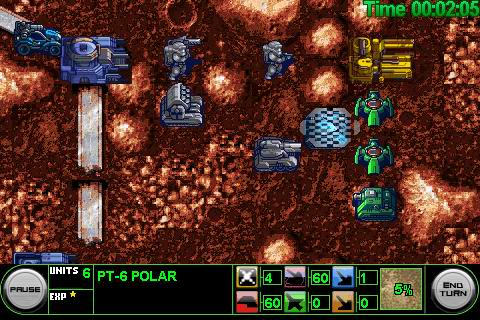
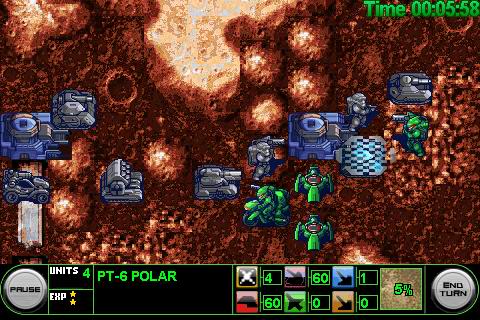
Deploy your Charlie and Kilroy on the east facing hexes so they can reach Factory A more quickly. Head east towards Factory A and start taking out enemy tanks. You should be able to capture Factory A on turn 3 with your Charlie. Deploy your Polar on the southeast hex so it takes the brunt of the artillery damage. If the enemy captures Factory A just re-capture it with one of your infantry so you get a free unit. Don't be afraid to retreat 5-6HP units back to be repaired. Don't bother killing the triggers, just work around them. Once there's only a few enemies left, move east and finish the map off.
Δ
Δ Return to top
Stage 14: ARBELA
Difficulty: 


 (3.5/4 stars)
Turns Taken: 8
Neutral Factories: A, B (north to south)
Δ Return to top
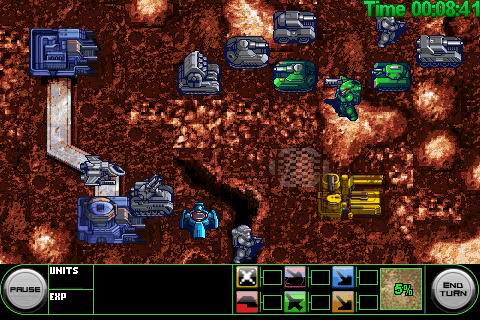
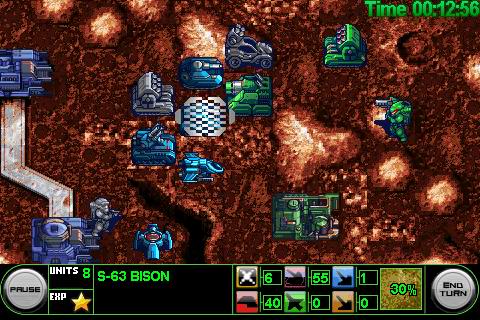
This is one of the most random stages in the game in terms of CPU behavior. Move your Charlie near Factory A one hex NW, but don't attack. Take out the Lenet NW of your Charlie using your Gauntlet, Grizzly, and Bison. Attack the Slagger with your Slagger to injure it. Keep your Charlie near your Base safe. Try your best not to let any enemy retreat into a factory. That means not attacking an enemy if you know you'll probably just injure it and allow it to escape. There are a couple of random factors in this stage. The enemy Octopus usually retreats, but rarely it will move forward aggressively, which can be a lot of trouble. The enemy will capture Factory B and deploy its units.
Attack the enemy Eagle with your Falcon - this might barely dent it, or do a ton of damage. Keep killing the enemy tanks around Factory A. Move your Charlie near Factory A one hex NW onto the 30% defense hex, and move your Charlie near your Base into an exposed spot as bait. Before the Kilroy captures Factory A, camp the two deployment hexes by Factory A to the NW and SW of the Factory. This will prevent the enemy from deploying anything while your Charlie moves in to capture it. Move one of your tanks NW of Factory A on Turn 2 because enemies may get in your way during Turn 3.
The CPU will probably kill one of your Charlies, but that's ok as long as there's still one left. Just keep Factory As deployment spots camped while killing the Eagle and Hunter. One more random factor is that the CPU may start moving its Giant west, which can be a hassle to deal with. Try to capture Factory A asap so you have the bomber to help deal with it. Once the Eagle and Hunter are dead and you have Factory A there should only be a tank or two left plus the Octopus, Hawkeye, Giant, Aegis, and Kilroy.
Δ
Δ Return to top
Stage 15: KHUSRO
Difficulty: 


 (3/4 stars)
Turns Taken: 13
Neutral Factories: A, B, C, D (north to south)
Δ Return to top
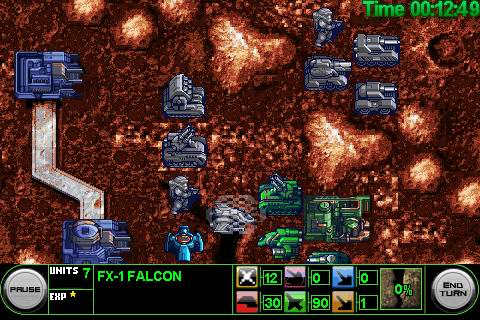
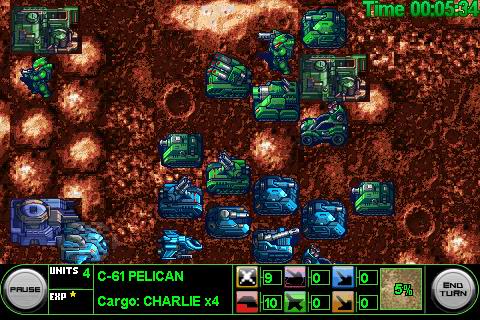
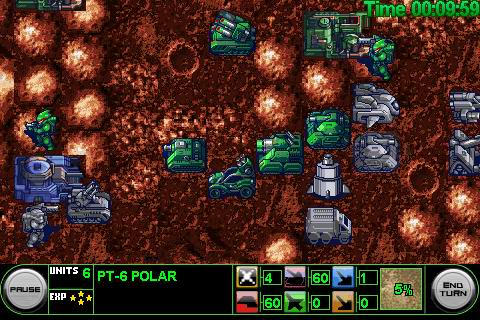
The CPU will capture Factory A and B, while you need to capture Factory C and D. The enemy Kilroy may head for Factory B or it may retreat to enemy Base. If the Kilroy retreats then you can capture Factory B before the enemy Charlie reaches it, making the stage much easier. This guide is written assuming the Kilroy captures Factory B, since it's the more difficult situation.
Move your Charlie and Kilroy north while staying out of Hunter range. Kill the Hunters as they come in with your Falcon and Seeker and don't let them retreat. Kill the Octopus asap, even if it means putting a unit or two into Atlas attack range. Once the Octopus is dead, fall back a bit so you have some room to work on the tanks. One enemy will end up camping enemy Base, it's usually the Rabbit since it has a high movement range. Load your Charlie into the Pelican at Factory D and head for Factory A. Use your infantry, Falcon, and Pelican as bait once their purpose has been served. Drop the time bomb next to the Giant and keep it distracted with your Mule. The bomb will take out the Giant with it, saving you a lot of hassle. Don't be afraid to retreat 1-5 HP units back to your factory for repairs. After only the artillery remain, capture Factory B so you have a place to retreat your units taking heavy damage, and use your infantry as bait.
Δ
Δ Return to top
Stage 16: SAFFAH
Difficulty: 


 (3.5/4 stars)
Turns Taken: 13
Neutral Factories: A, B, C, D (north to south)
Δ Return to top
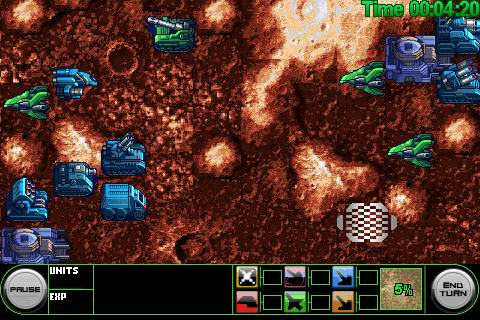
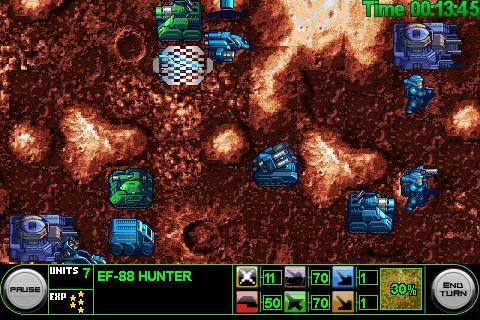
The enemy will capture Factory A and B and you need to capture C and D. Move your Teknic to Factory C (while staying out of Hunter range) and your Kilroy to Factory D. Kill the first Hunter with your Seeker, Eagle, and Lynx. Drop your Aegis off south of Factory C, otherwise just keep it in the Mule until you see a good opportunity. From Factory C, deploy the Giant NE, Hawkeye SE, and Pelican S. The 2 Hunters will hit the Pelican as bait and you can easily dispatch them. Empty out Factory C and let the Charlie capture it so you can recapture it and grab an extra Charlie.
Once the enemy air units are dead, use your Eagle and Hunter to start bombing the artillery while you hold out against tanks coming towards Factory D using your own artillery. Use your Falcon, Hawkeye, Mule, and infantry as bait once their purpose has been served. Advance at your own pace and take out the Giant, Biospyder, and various artillery.
Δ
Δ Return to top
Stage 17: MEDICI
Difficulty: 


 (2/4 stars)
Turns Taken: 11
Neutral Factories: A, B (north to south)
Δ Return to top
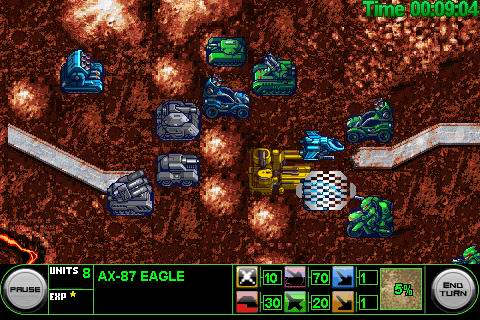
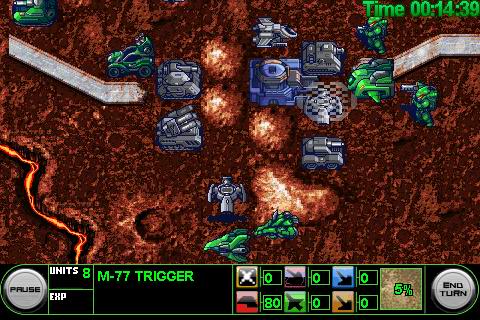
Blockade the Panther from reaching Factory A with your Eagle and Falcon, using your Lynx as bait for the Seeker. Capture Factory B with your Teknik and move a Pelican loaded with Teknik and Airtrigger up towards Factory A. Kill the Seeker asap. Move your Seeker towards Factory A. Drop your Teknik off and protect it with your air units. Use the Pelican and Hawkeye as bait for the Biohawk and Hunter, then kill both of them. You might lose a unit or two in the process but with Factory A reinforcements and your Seeker arriving from Factory B you'll have the upper hand.
Δ
Δ Return to top
Stage 18: CORTES
Difficulty: 


 (3/4 stars)
Turns Taken: 14
Neutral Factories: A (only one factory)
Δ Return to top
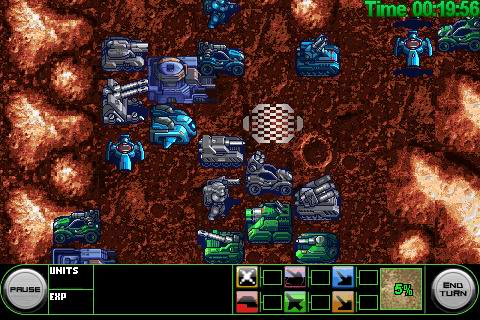
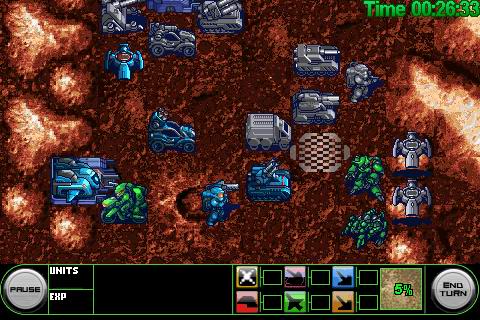
Deploy your two Airtriggers and Lynx and send your Teknik to Factory A. Set yourself up in a defensive position around Factory A and your Base. Drop the Trigger near your Aegis or on your Base. Grind down your opponents using standard tactics - ducking into factories, using bait units, support attacks, etc. Use the Airtriggers to blockade enemy movement, use your infantry, Pelican, Mule, and Hawkeye as bait, and keep the enemy Panther from riding up to your Base. Once the invasion force is taken care of, you still have to kill the two hunters and panther, so hopefully you have some anti-air support left. Repair in the factory then head east to engage them using standard tactics.
Δ
Δ Return to top
Stage 19: ARMADA
Difficulty: 


 (3/4 stars)
Turns Taken: 13
Neutral Factories: A, B (west to east)
Δ Return to top
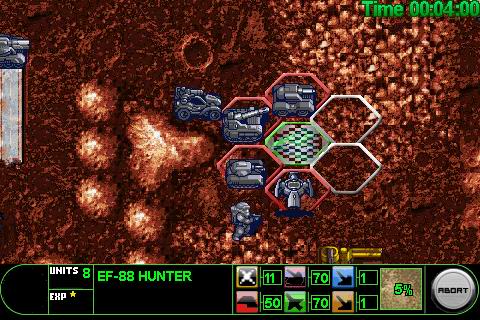
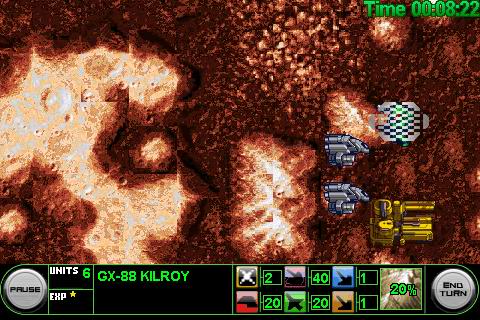
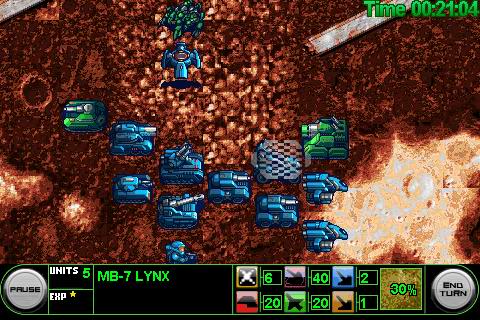
Move your Charlie to Factory A, staying on defensive terrain. Position the Bison and Airtrigger next to the Charlie for support so it survives the Hunter attack. Surround the Hunter on Turn 2 so your Charlie can reach Factory A. Move your Eagles east to blockade Factory B and kill the incoming Kilroy and Panther. At your northmost factory, your goal is to distract some enemies into moving NW instead of SW towards Factory A, which divides and weakens the enemy forces. Keep deploying and retreating units to distract the incoming Hunter and two Slaggers. Once the Slaggers are in range of your northmost factory on Turn 3, hide everyone inside so the Slaggers have nothing to hit.
It's pretty safe to assume the enemy will lose at least one unit on turn 4 to volcanoes as it tries to approach Factory A. Once you have your Factory A units out and you've blockaded Factory B, start killing the Hunters and incoming enemies using standard tactics - support attacks, repairs, etc. If you took a lot of unit losses, try capturing Factory B and using the units in there to help finish the map off.
Δ
Δ Return to top
Stage 20: MOZALT
Difficulty: 


 (2/4 stars)
Turns Taken: 12
Neutral Factories: A, B (west to east)
Δ Return to top
The enemy will capture Factory B while you grab A. Wait for the enemy to approach you so you don't have to deal with the artillery fire. Use standard bait, support, repair tactics. Drop your Atlas near the enemy Aegis to help clear the way.
Δ
Δ Return to top
Stage 21: THIERS
Difficulty: 


 (2/4 stars)
Turns Taken: 10
Neutral Factories: A, B, C, D, E (west to east)
Δ Return to top
You're at a big advantage here infantry-wise. Spread out and capture Factory A, C, D, and E with your Panthers. Capture C first, then move one Panther to A, one Panther past D to E, and your 3rd Panther to D. Destroy the trigger by Factory D using your airtrigger and grizzly to clear the way. Most of the combat will take place around Factory D, so move all of your units towards it. Once you have your 4 factories, take out the enemy with overwhelming force.
Δ
Δ Return to top
Stage 22: FUHRER
Difficulty: 


 (4/4 stars)
Turns Taken: 11
Neutral Factories: A, B, C, D, E (west to east)
Δ Return to top
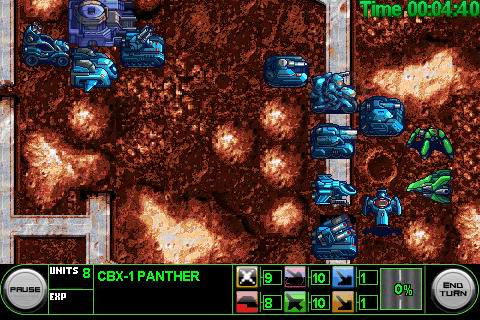
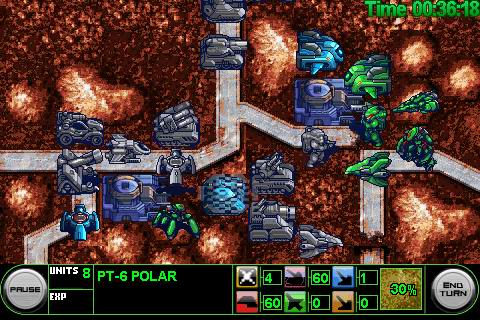
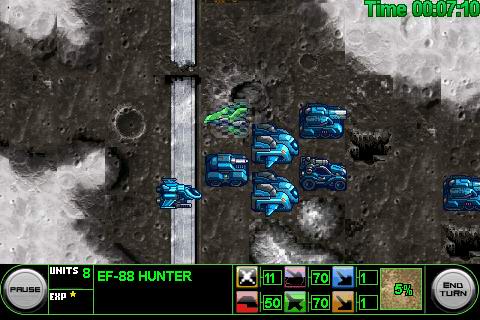
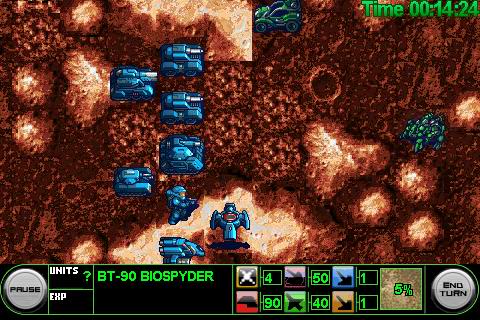
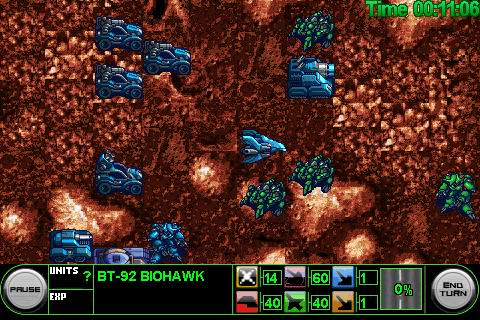
The enemy will capture Factory D while you capture A, B, and C. Move your Rabbit south to blockade Factory A and kill the Kilroy. Move your Panther just out of Biospyder range (see screenshot 1) Start attacking the Biospyder with your Grizzly and Polar, with your Airtrigger supporting from the south. Deploy your Pelican to the S or SE and load your Teknic into the Pelican. Move your Panther next to the Biotrigger on its way to Factory B. Move the rest of your units southeast covering the Biospyder (see screenshot 1). The enemy Hunter should attack your Airtrigger and the Biospyder will do whatever. The CPU will randomly choose a unit to camp its Base with. It could be a loaded Pelican, a Biounit, or anything. The CPU is also pretty random with how aggressive it is with its Hadrian, and it will move its Panther and Pelicans to random locations at random times - be ready to deal with it.
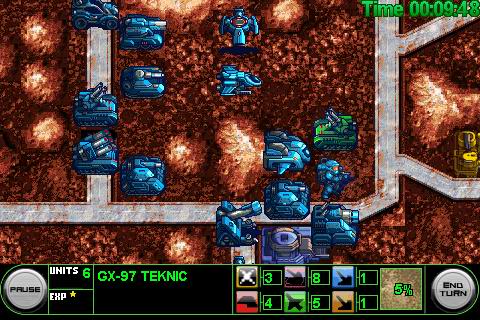
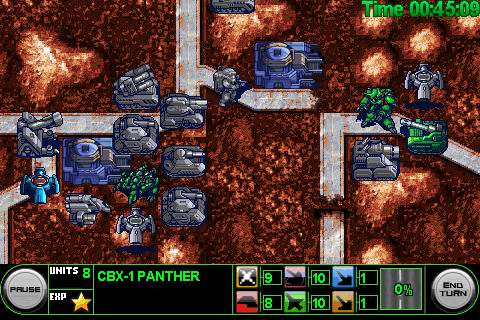
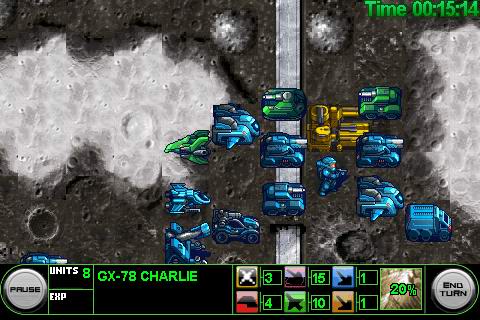
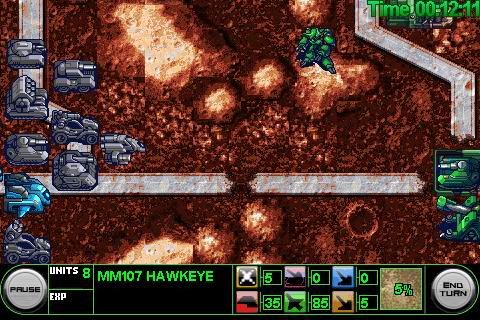
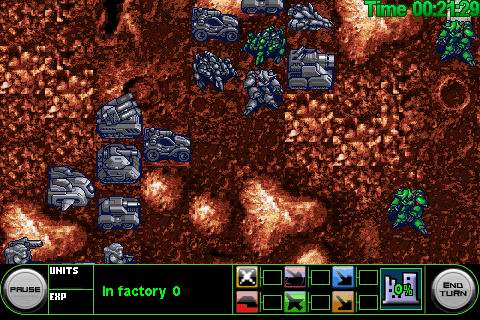
On turn 2, kill the Hunter and Biospyder and capture Factory B with your Panther. From Factory B, deploy the Trigger SW, Atlas NW, and tanks in the other two spots. Move your Lynx onto the north road to dissuade the enemy Panther from possibly riding up into your Base. Drop your Teknic off as shown in screenshot 2. This will cause the enemy Seeker to attack the Teknic from a position where the Teknic can move in and capture Factory C on Turn 3. Redeploy your Panther and send it to Factory A. If an enemy is about to capture Factory C, try killing it with your Atlas and tanks. Prepare for incoming enemies on Turn 3 by placing bait units out in front in separated positions so the enemies don't clump together too much which will make it harder to surround and kill them.
Turns 4-7 you will have to deal with a Hunter, 2 Biohawks, 2 Biohulks, a Biospyder, Panther, Pelican, Kilroy, and Hadrian. Focus on killing the air units and infantry while blockading the Biohulks with your strongest tanks or infantry bait. The CPU will still be flying Pelicans around the map so keep your Base safe. It's important to keep your air units alive because they are needed to get around behind the enemy for support attacks. You will lose some units but as long as your tactics are solid you can finish off everything and still have a sizable force to finish off enemy HQ.
Δ
Δ Return to top
Stage 23: MONROE
Difficulty: 


 (3.5/4 stars)
Turns Taken: 14
Neutral Factories: A, B, C, D (west to east)
Δ Return to top
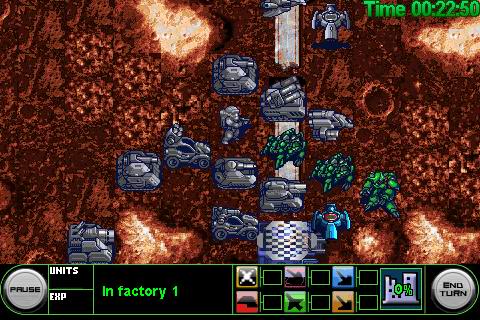
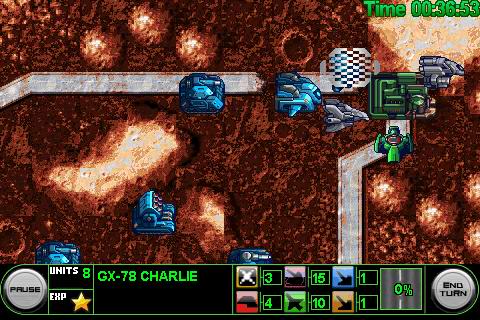
The enemy will take Factory D while you can claim A, B, and C. Deploy a Falcon and Teknic. Start moving your Teknic north towards Factory A. Load your Pelican up and head for Factory B, then deploy the Charlie in B to head to Factory C. Pick up your Teknic and drop it by Factory A, then pick up the Atlas and drop it near Factory B or C. The enemy doesn't have much in the way of air units so use your Falcons as support or bait. Most of the fighting will take place around Factory B. Don't lose your tanks and keep surrounding and destroying incoming enemies. Once you've fended off the bioenemies from Factory C, it might be faster to go for a HQ capture with your air units if there are enemies scattered around elsewhere that can't catch up.
Δ
Δ Return to top
Stage 24: ADVENT
Difficulty: 


 (1/4 stars)
Turns Taken: 5
Δ Return to top
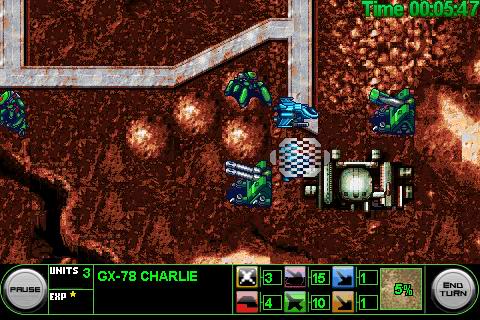
Load your Charlie into the Pelican, deploy the Falcon, then fly east to the Base for a quick capture.
Δ
Δ Return to top
Stage 25: LEKEHS
Difficulty: 


 (2.5/4 stars)
Turns Taken: 9
Δ Return to top
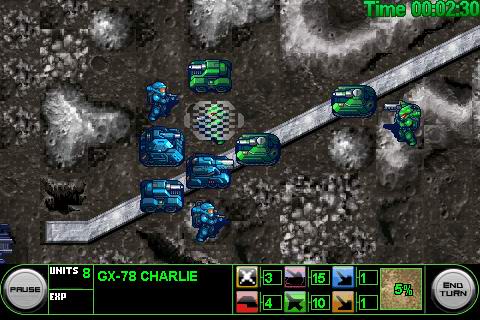
Place your tanks on the hills north of your Base and wear down your enemies defensively. Use your Teknic to keep your tanks healthy. The Octopus will probably start moving so kill off the tanks quickly so you don't take a lot of ranged damage. After that just head to the Base and eliminate the remaining forces.
Δ
Δ Return to top
Stage 26: HAIPUR
Difficulty: 


 (2.5/4 stars)
Turns Taken: 15
Δ Return to top
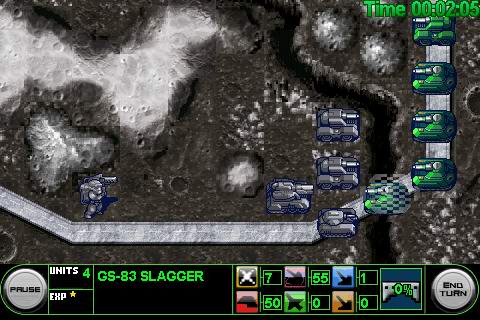
Move your Charlie onto your Base and send everyone else east to blockade the bridge. Attack from the 30% defensive terrain next to the bridge while your other units provide support. If more than one enemy infantry heads to your Base, send a unit back to help defend it.
Δ
Δ Return to top
Stage 27: RALLOD
Difficulty: 


 (3/4 stars)
Turns Taken: 18
Δ Return to top
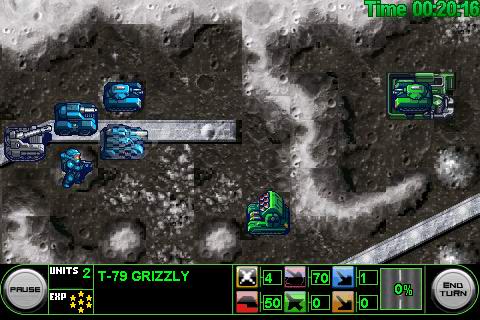
Start out playing defensively, using the 30% hexes for your tanks and 40% hexes for your Charlie. Use support bonuses whenever possible. Once you've killed a tank or two and the rabbit, start heading north along the road. The AI should hopefully send one tank at a time while keeping its Octopus away. If the AI plays aggressively and advances its Octopus to cover your Base area or if it sends multiple tanks, or if you take unlucky amounts of damage, you're screwed. Try to take only minimal damage before advancing on the Octopus. Once only the Octopus, Atlas, and Lenet on enemy Base remain, advance on the Octopus. Use your Charlie and Hadrian as bait while your tanks keep attacking. You'll usually survive this map with only 2-3 badly damaged units alive.
Δ
Δ Return to top
Stage 28: ATESEP
Difficulty: 


 (2/4 stars)
Turns Taken: 9
Neutral Factories: A, B (north to south)
Δ Return to top
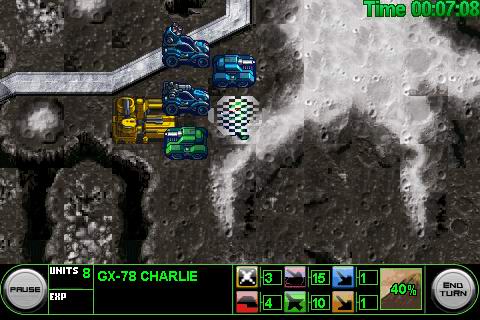
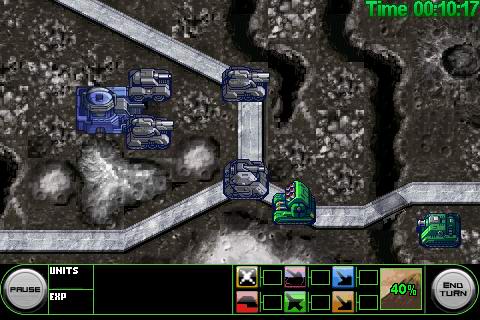
Send your Grizzly and one Charlie along the south road towards Factory B. Send all other tanks, artillery, and the other Charlie north to Factory A. Use your Atlas and Grizzly to destroy the M-77 Trigger.
At Factory A, the enemy may capture it, but as long as you kill the nearby tank(s) you can then camp the factory deployment spots while your Charlie catches up to recapture. At Factory B, use your Grizzly as a distraction while your Charlie runs up the hills to capture. Once you have both factories, the mission is over.
Δ
Δ Return to top
Stage 29: TNIROF
Difficulty: 


 (2/4 stars)
Turns Taken: 7
Neutral Factories: A, B (west to east)
Δ Return to top
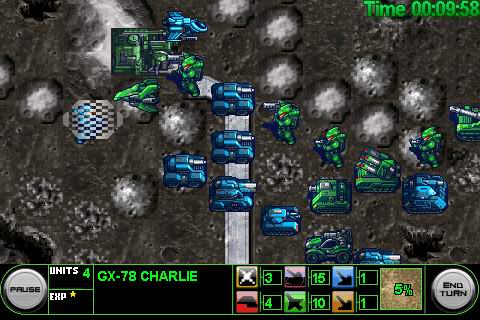
Deploy all your Bisons. Send one Charlie to Factory B, while rushing all other units to Factory A. The CPU will capture Factory A and probably deploy the Hunter, but just keep forcing your way in. Try to get your anti-air units in position to hit the Hunter. Camp the Factory A deployment spots and blockade while your Charlie moves in for Factory A. Once you have both factories, the mission is over.
Δ
Δ Return to top
Stage 30: ODUCSE
Difficulty: 


 (2.5/4 stars)
Turns Taken: 10
Neutral Factories: A, B, C (west to east)
Δ Return to top
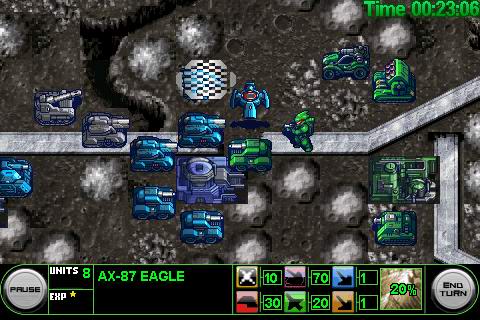
Move east to Factory A. Attack the Atlas with your Slagger. The CPU might send units after your Slagger, or it might ignore it entirely. It's preferable that the Giant moves west so that your Slagger can stay alive camping the enemy HQ, because it will be able to kill quite a few tanks before it goes down. Either way, Factory C will be captured and you'll have to deal with the Giant eventually.
Grind down the enemy tanks using support attacks and capture factory B. If the Giant has an enemy behind it, focus on killing that enemy behind the Giant first, so you can surround the Giant with more units before trying to take it down. Use the Bomber and Airtrigger to help with support attacks.
Δ
Δ Return to top
Stage 31: TOROGA
Difficulty: 


 (2/4 stars)
Turns Taken: 8
Neutral Factories: A, B, C (west to east)
Δ Return to top
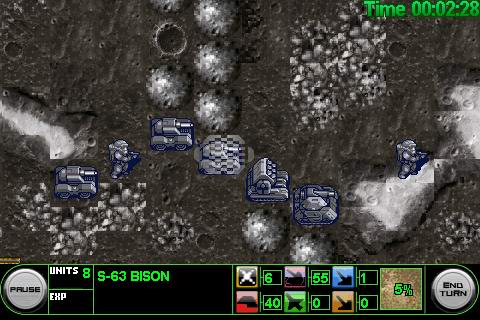
Deploy your Bisons first - send them towards Factory C. Move your Charlies to Factories A and C while splitting your tanks up east and west. Send 2-3 tanks towards Factory C to kill the Slagger. Position your ranged units to kill the Atlas once it's deployed from Factory B. Close in on Factory B with your tons of units and finish the mission off using standard tactics.
Δ
Δ Return to top
Stage 32: SRANID
Difficulty: 


 (2/4 stars)
Turns Taken: 10
Neutral Factories: A, B (north to south)
Δ Return to top
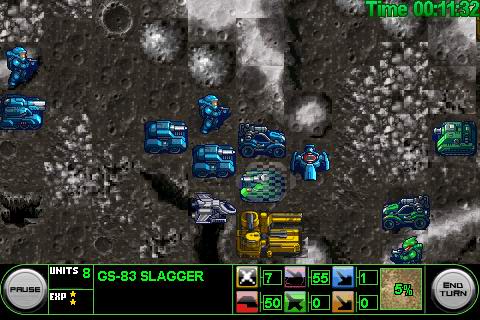
The Hunter will attack your Trigger, so use that opportunity to surround it with your Falcon and Rabbit for the kill. Allow 2 or more hexes to gang up on the nearby Slagger for a kill so your Charlie can capture Factory A sooner. Move your Falcon to block access to Factory B while your Charlie moves up to capture it. If the CPU captures Factory B you'll still have tons of firepower to clear out the tanks with.
Δ
Δ Return to top
Stage 33: GNATAS
Difficulty: 


 (2.5/4 stars)
Turns Taken: 9
Neutral Factories: A, B, C, D (west to east)
Δ Return to top
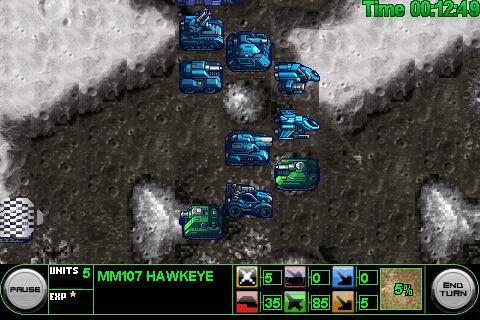
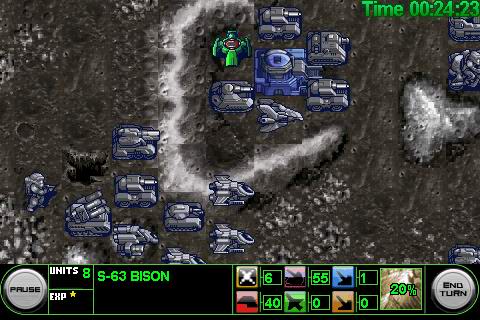
Deploy a Pelican, Falcon, Seeker, Hawkeye, and Panther. Load your nearby Charlie into the Pelican and send it to Factory B. Send your other Charlie south to Factory A. Move your anti-air units south to engage the Hunters. Give the hunters a bait unit so they move north towards your anti-airs. Move your Panther east to Factory D. Once the Hunters are dead proceed to Factory C and prevent the CPU from capturing it. Clear out the Factory C area, capture it, then proceed onward to the enemy HQ with all 4 factories captured.
Δ
Δ Return to top
Stage 34: SRELAH
Difficulty: 


 (2.5/4 stars)
Turns Taken: 10
Neutral Factories: A, B, C, D (west to east)
Δ Return to top
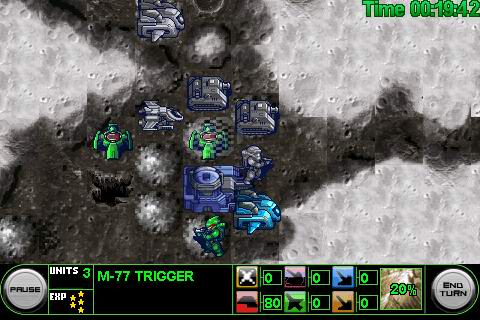
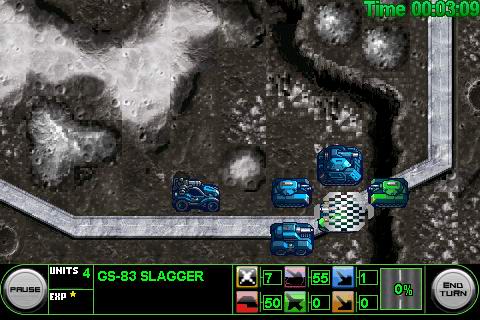
Load your Pelicans up and send them towards Factories A and B. Hold off the Slagger and Charlie from Factory B with your Pelicans. If the Charlie gets Factory B just recapture it while sitting on the deployment spots. Don't deploy any Factory B units southeast into Atlas range. Ignore anything going on with Factories C and D.
Once you've cleared out most of the tanks by Factory B, you have two strategies you can try. If there's nothing by the enemy HQ, load up Charlies and and go for a quick HQ capture. If there are enemies camping the enemy HQ, load up tanks and drop them by the Atlases near enemy HQ, and go for a slower HQ capture with tanks rolling in.
Δ
Δ Return to top
Stage 35: SASIAP
Difficulty: 


 (2/4 stars)
Turns Taken: 9
Neutral Factories: A, B, C (west to east)
Δ Return to top
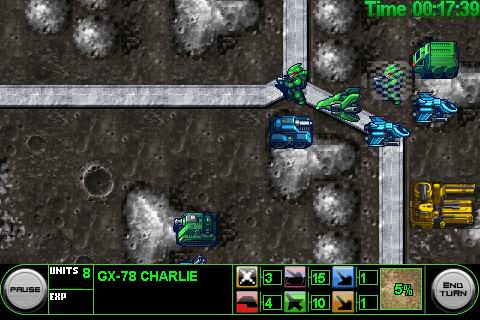
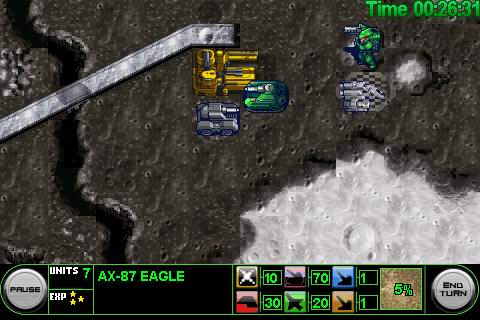
Deploy your air units and Bison first and send them to blockade Factory C. Have your Eagle attack the deployed Atlas while your Falcons and Bison plug the road to Factory C. Move your lone Bison around the chasm to fend off the Charlie and Slagger headed for Factory A. Don't advance the Factory A bison too far ahead or you'll draw the attention of an enemy tank. Move your two Kilroys towards Factory B and fight the incoming Slagger from defensive terrain.
Once the Hunter is down and your 2nd round of deployed units catches up to Factory C (around turn 5), move your Eagle towards Factory A to help fend off the infantry and tank. If your Kilroys die against the Slagger, send the Eagle over to finish the task. Don't worry about capturing any factories, kill everything.
Δ
Δ Return to top
Stage 36: YZSORG
Difficulty: 


 (2.5/4 stars)
Turns Taken: 11
Neutral Factories: A (only one factory)
Δ Return to top
Deploy all you've got except the time bomb and merge into the centre area. Load the Atlas into a Pelican and leave the other Pelican empty. Use your empty mule as a ghetto anti-air in case you really need it. Send the empty Pelican west to pick up the Charlie and drop it near Factory A when you see an opening. Your first two targets are the Hunters - keep out of the attack range of one hunter, while providing the empty pelican as bait for the other hunter so you don't have to deal with both at once. As long as you surround the pelican with 4-5 units for support, it won't die from the hunter attack. Drop the Atlas near Factory A and kill/blockade the enemy Charlies from capturing if necessary. Don't worry if your Pelicans get blown up after the Charlie and Atlas are dropped off.
Once you've got Factory A, you've pretty much won the mission. Move north up the centre, bomb the artillery, surround and destroy the giants, and destroy everything at enemy HQ.
Δ
Δ Return to top
Stage 37: KUDRAM
Difficulty: 


 (2/4 stars)
Turns Taken: 7
Neutral Factories: A (only one factory)
Δ Return to top
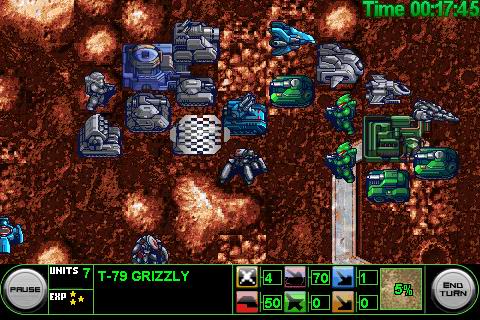
Start by destroying the enemy Atlas, Octopus, Hawkeye, and air units. Protect your own ranged units with airtriggers, charlies, and the pelican. This is a test of basic tactics of which unit is most effective against which. Once most of the enemies are dead, go after the Biounits and capture Factory A. Your own Biounits are similarly overpowered so feel free to stick them in front.
Δ
Δ Return to top
Stage 38: ALEBRA
Difficulty: 


 (4/4 stars)
Turns Taken: 12
Neutral Factories: A, B (north to south)
Δ Return to top
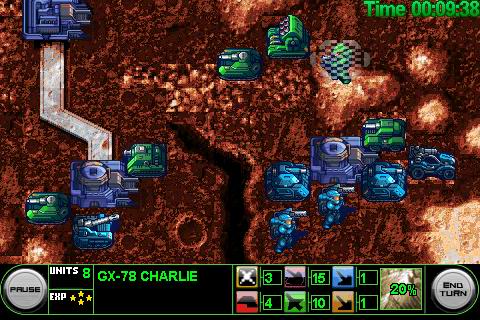
The CPU will capture Factory A, while you need to capture Factory B. Move your Charlie 2 south, 1 southeast, then cross the chasm to capture Factory A. Attack the Lynx with your Bison then move it onto your HQ. Deploy your Hadrian then retreat it when threatened by 3 or more tanks. From Factory B deploy two Polars and the Rabbit. On the next turn (turn 4), empty out Factory B and allow the enemy Kilroy to capture it, so you can recapture it and recruit the Kilroy to your side.
You need to sacrifice your Bison on your HQ because the Charlie that captured Factory A will start marching towards it if there's no unit guarding it. However if you do have your Bison on your HQ, the Charlie won't advance towards it even after your Bison dies, so it's a necessary sacrifice. The Charlie may start moving forward again around turn 9 or 10, but by then you should be able to push out and kill it.
Once you have both Kilroys on turn 5, you'll still have to kill 7 tanks, a charlie, and an octopus. Keep repairing and redeploying, grinding down the tanks. Feel free to redeploy your Hadrian if it can tank a hit or two without dying, so your tanks have less to deal with. Once the Octopus has nothing to attack, it will move even closer. Once it moves in closer, your two Kilroys should be tanking its attacks, shuffling in and out of Factory B. The northwest deployment hex by Factory B is extremely dangerous - try to avoid placing any units there if there are lots of tanks around, because they will gang up with superior terrain and blow up even a full health Polar.
Δ

Δ Return to top
Stage 39: ORSUHK
Difficulty: 


 (3.5/4 stars)
Turns Taken: 15
Neutral Factories: A, B, C, D (north to south)
Δ Return to top
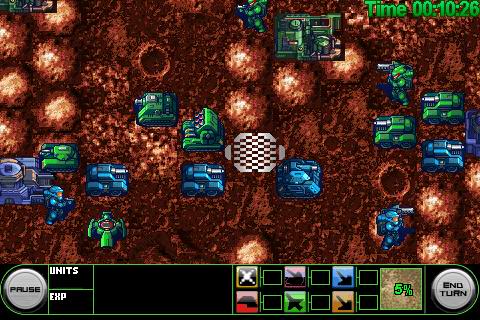
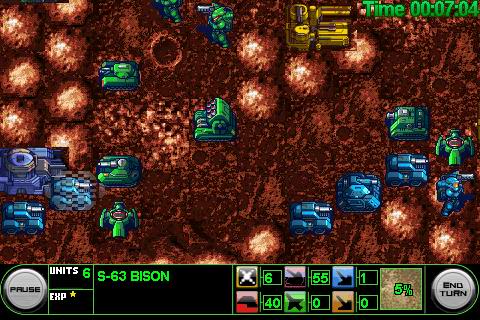
First deploy your Charlie, Polar, and Bison. The CPU will almost always capture Factory A and B, while you need to capture Factory C and D. Don't count on being able to capture Factory B. Send your Charlies to Factory C and D and your Kilroy to Factory D. Take out the Trigger near Factory D so you can use the deployment spot that is out of Aegis range. Stick to the defensive terrain around Factory D and just try to stay alive over by Factory C. You'll likely be too busy with the Trigger and tanks to kill the octopus quickly, so use your infantry to absorb its attacks whenever possible by ducking in and out of factories. Once the Trigger is down start ducking units into Factory D and wearing down the enemy's superior numbers. Don't be afraid to sacrifice an infantry to keep your tanks alive. Once you've killed the tanks you'll still need a couple units left to take out the Aegis and Atlas, since you will likely lose a few units trying to destroy them due to difficult terrain and overlapping firing ranges.
Δ
Δ Return to top
Stage 40: HAFFAS
Difficulty: 


 (3/4 stars)
Turns Taken: 15
Neutral Factories: A, B, C, D (north to south)
Δ Return to top
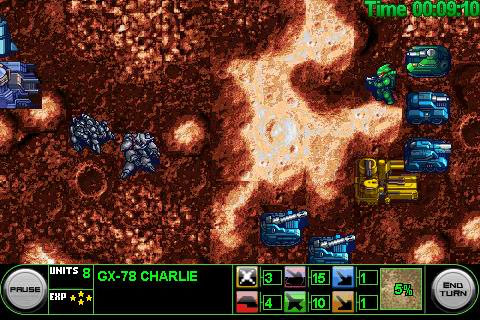
Move your Charlie north to claim Factory B. Send your other units east to quickly destroy the Bison then blockade the enemy Charlie headed for Factory C. The CPU will capture Factory A eventually, but sometimes it delays for a bit. At Factory B deploy the time bomb in the middle hex and your biounits to the sides. Move your Charlie east towards Factory C. Leave your biounits and maybe a tank by your Base to fend off capture attempts. Once you have the units from both Factory B and C, you will have an overwhelming force to push north to enemy Base with no need to bother with Factory D.
Δ
Δ Return to top
Stage 41: ICIDEM
Difficulty: 


 (1/4 stars)
Turns Taken: 8
Neutral Factories: A, B (north to south)
Δ Return to top
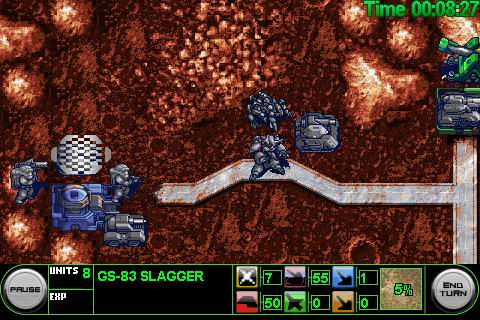
Deploy your Polar, Bison, and Charlie and head east to Factory A. Blockade the enemy Charlie and capture Factory A, then proceed east to enemy Base with an overwhelming force.
Δ
Δ Return to top
Stage 42: SETROC
Difficulty: 


 (2/4 stars)
Turns Taken: 12
Neutral Factories: A (only one factory)
Δ Return to top
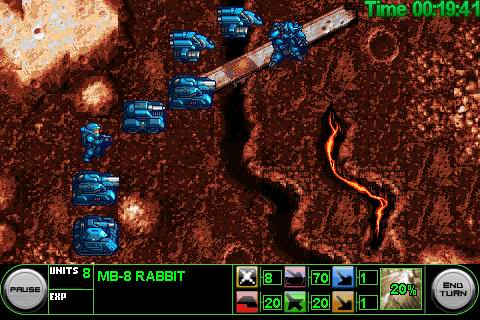
Head to Factory A and capture it. Cross the bridge to enemy Base with all of your units. Use your biohulk and eagles to take out air units while your tanks provide support bonuses. Blockade the south route to the enemy Base if a lot of enemies start moving north.
Δ
Δ Return to top
Stage 43: ADAMRA
Difficulty: 


 (2/4 stars)
Turns Taken: 9
Neutral Factories: A, B (west to east)
Δ Return to top
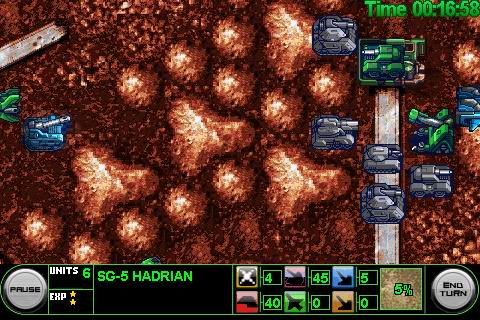
Deploy your Pelican and deploy your Polar into it. Move the Pelican northeast and drop off the Polar, then load the Charlie into it. Move all of your ground units towards enemy Base. Send your tanks over the rough terrain while distracting the Hunter with your artillery. Once you clear out around the enemy Base, drop your Charlie and go for a Base capture.
Δ
Δ Return to top
Stage 44: TLAZOM
Difficulty: 


 (1/4 stars)
Turns Taken: 9
Neutral Factories: A, B (west to east)
Δ Return to top
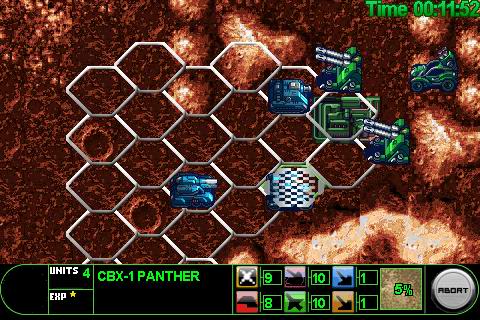
Send your Panther initially on the map towards Factory B, and send your deployed Panther to Factory A. Capture both factories ahead of the enemy and head for enemy Base.
Δ
Δ Return to top
Stage 45: SREIHT
Difficulty: 


 (2.5/4 stars)
Turns Taken: 8
Neutral Factories: A, B, C, D, E (west to east)
Δ Return to top
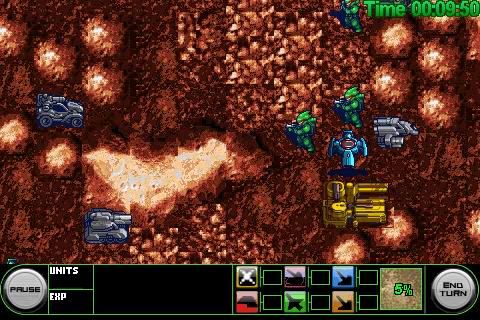
Move your Charlie to Factory B. Most of the fighting will take place around Factory C and D, so split your units up towards those two spots. Deploy your Airtrigger, Eagle, Rabbit, and Biospyder first. Move your eagle and airtrigger southeast to blockade the enemy from reaching Factory E. The wildcards are the Biospyder and Biohawk, which may move to either Factory C or D - send your Biospyder and Giant after them. Send your Charlie from factory B to the enemy Base for a capture just in case the enemy captures Factory E. By turn 8 there should just be the Biospyder left with your army marching to enemy Base, or if the enemy captured Factory E, you can still go for a Base capture while keeping the enemy busy.
Δ
Δ Return to top
Stage 46: RERHUF
Difficulty: 


 (1/4 stars)
Turns Taken: 7
Neutral Factories: A, B, C, D, E (west to east)
Δ Return to top
Start by capturing Factory A. Deploy your two Pelicans loaded with Charlies and capture Factories B and C. Blockade Factory D with air unit(s) while closing in on enemy Base with an overwhelming force.
Δ
Δ Return to top
Stage 47: EORNOM
Difficulty: 


 (2.5/4 stars)
Turns Taken: 9
Neutral Factories: A, B, C, D, E (west to east)
Δ Return to top
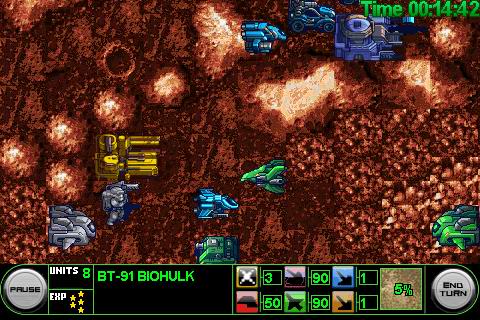
Send your Charlie north to Factory A, send your Kilroy northeast to Factory B, and send your Pelican w/ Charlie to Factory C to simultaneously block the enemy Charlie and capture. The enemy will capture Factory D while you capture A, C, then B. Deploy your air units from Factory A first and try to protect your Kilroy headed for Factory B from incoming tanks. Move your Pelican back to your initial factory to grab the Atlas. Close in on the enemy with overwhelming force from your 3 factories.
Δ
Δ Return to top
Stage 48: TNEVDA
Difficulty: 


 (4/4 stars)
Turns Taken: 19
Neutral Factories: A, B, C, D, E (west to east)
Δ Return to top
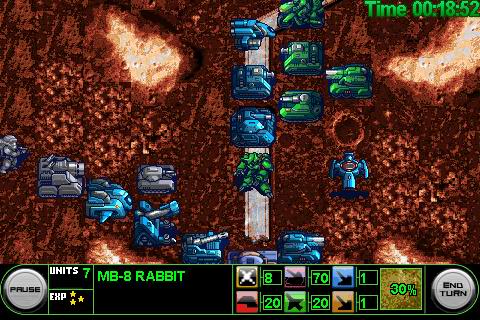
Load your Kilroy into your Pelican and deploy your Charlie on the northeast hex. Move your Charlie to Factory A and your Pelican to Factory B. After capturing Factory B, load your Pelican up again and capture Factory C. Gather your ground units between Factory A and B. Make sure you have a bioenemy surrounded by 4 or 5 units before bothering to attack it. Use your Charlies, Kilroy, Hawkeyes, and Pelican as bait to absorb hits. Don't let your Rabbits get destroyed - they have low armor but give a lot of support damage when surrounding an enemy. Kill enemies quickly with 2-4 attacks - if you build up their rank they will be nearly impossible to kill. Don't be afraid to back up a bit and lure enemies onto weaker terrain and away from the Atlases.
To capture Factory D, throw your tanks from Factory C in the enemy's path then move your Factory C Charlie in for the capture. Be careful though because bioenemies will gang up on anything you deploy at Factory D until you've thinned things out. Attack with your normal units whenever possible because you can heal them, your biounits have limited HP. Around turn 15 all the bioenemies except the Biohawk should be dead, so go ahead and capture the enemy Base or kill everything. It helps if your Pelican is still alive to drop off a Charlie, but it doesn't really matter.
Δ
Δ Return to top